Every woodworker hits a point where measuring twice isn’t enough.
Cuts drift off, holes wander, and somehow that “perfectly square” project still rocks on the floor.
That’s when most of us discover the quiet secret behind accurate work: woodworking jigs.
Jigs are the unsung heroes of every efficient workshop: simple fixtures that hold, guide, or position your tools so you can cut, drill, or shape perfectly every time.
They make your work faster, safer, and repeatable, turning frustration into flow.
In this guide, you’ll learn not only what the best woodworking jigs are, but how to build them yourself.
From crosscut sleds to router guides, I’ll show you the same shop projects I use daily, explain how they work, and teach you how to design your own for any tool or task.
Whether your workshop fits inside a garage or a single corner, mastering custom shop jigs will transform the way you build, because precision isn’t about talent, it’s about setup.
This chapter is part 2 in the Simple Woodworking Projects series.
Christophe,
If you’re just getting started, read the Simple Woodworking Projects guide first to follow the journey in order.
Earlier step in the journey? Go back to Indoor Furniture Projects (Part 1).
Founder of Ash Stag Woodworking

– Updated on
Key Takeaways
– You’ll understand what woodworking jigs really do — how they turn ordinary tools into precision systems that repeat perfect cuts and holes every time.
– You’ll learn which DIY woodworking jigs are worth building first and how each one improves accuracy, speed, and safety in your workshop.
– You’ll discover the design logic behind every good jig, so you can create your own for new tools and custom builds.
– You’ll gain the confidence to see jigs not as accessories, but as the backbone of smart woodworking.
Disclosure: At zero cost to you, I may get commissions for purchases made through links in this post. I earn from qualifying purchases as an Amazon associate. Products featured are selected based on quality, performance, and reputation, regardless of affiliate relationships.
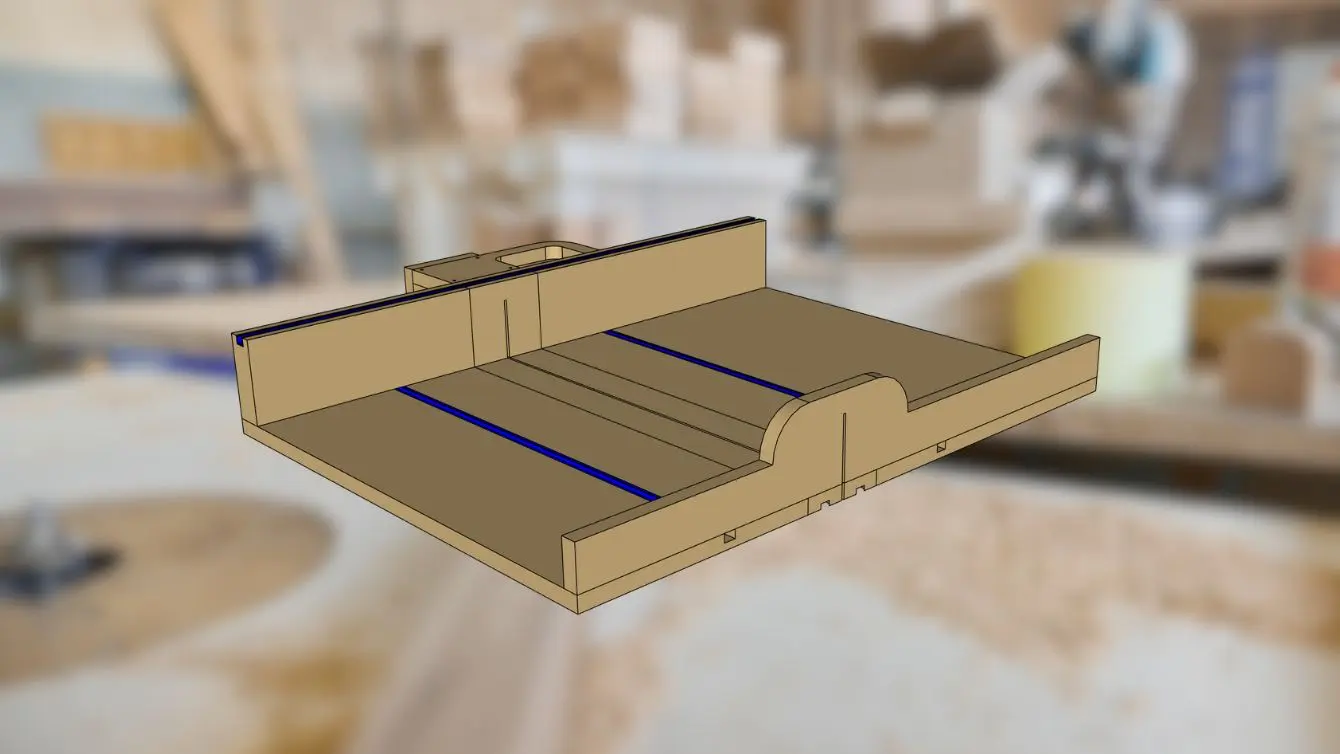
Table of Contents
Example Woodworking Jigs You’ll Learn Here
Why Every Workshop Needs Woodworking Jigs
If you’ve ever tried cutting identical pieces by hand, you already know how hard it is to make them match.
A few millimeters off here, a shaky grip there, and suddenly, the perfect joint doesn’t line up.
That’s where woodworking jigs come in.
They take over the part of the job that human hands aren’t good at: holding, aligning, repeating.
A jig is simply a helper that guides your tool or your material in a consistent way, again and again.
Why Woodworking Shop Jigs Matter
Without jigs, every cut feels like a new challenge.
With them, every cut feels like a plan.
They help you:
- Cut repeatable angles and lengths
- Drill perfectly centered holes
- Keep parts aligned during glue-ups
- Shape identical pieces faster and safer
Even a basic crosscut sled or a simple drilling guide can transform the way you work.
Once you’ve used one, it’s hard to imagine woodworking without it.
Tip: Think of every jig as a “frozen solution” to a problem you’ve already solved once.
Build it right, and it’ll save you hours the next time that same challenge appears.
More Than Convenience
Custom shop jigs don’t just make work easier; they make it better.
They allow you to build with confidence, to focus on the design instead of constantly fixing mistakes.
And the best part? You can build nearly all of them yourself, tailored perfectly to your tools, your bench, and your workflow.
How Woodworking Jigs Work
A woodworking jig is really just a way to make your hands more accurate.
It locks a tool or a workpiece in place so that you can focus on one thing at a time.
Instead of guessing the angle, holding your breath and hoping for the best, a jig gives you control.
The Three Core Functions
Every jig you’ll ever build does one or more of these three things:
- Guide – helps your tool move in a straight or curved path.
Think of a router edge guide, a circle-cutting jig, or a sled that keeps your saw on track. - Hold – keeps your material steady and safe while you work.
A clamping jig or drill press jig makes it impossible for the piece to twist or shift. - Repeat – lets you perform the same operation again without re-measuring.
A stop block or doweling jig saves time and ensures each part matches the next.
Most good jigs do a mix of all three.
They don’t just help you cut straight lines; they help you build consistency.
The Real Power of a Jig
Once you start using them, you’ll notice something unexpected: you think less and produce more.
The mental load drops because the jig carries part of the precision for you.
That’s why even professionals rely on them.
When a tool becomes predictable, creativity has room to grow.
That’s the quiet magic of a jig.
Core Jigs Every Woodworker Should Build First
You don’t need twenty fancy jigs to get started.
In fact, building too many too soon can slow you down.
A handful of smart, well-designed helpers will take you a long way.
Below are the core woodworking jigs that make the biggest difference in a small shop.
Each teaches you something useful about precision, alignment, or efficiency.
They’re the foundation of every great workspace.
| Jig | What It Does | Skill You’ll Learn | Build Time |
|---|---|---|---|
| Crosscut Sled | Holds boards safely while cutting perfect 90° angles on the table saw. | Accuracy and calibration. | 2–3 hours |
| Miter Sled | Cuts precise angles for frames and trim. | Angle alignment and repeatability. | 2 hours |
| Drill Press Jig | Positions small pieces for accurate drilling. | Clamping and depth control. | 1 hour |
| Router Edge Guide | Keeps your router straight while shaping edges or dados. | Guiding and measuring. | 1–2 hours |
| Sanding Station | Holds sanders steady for controlled work. | Finishing workflow. | 2 hours |
| Clamp Rack | Organizes clamps and clears workspace. | Shop layout and planning. | 1 hour |
Each of these jigs will soon have a full step-by-step build guide here on Ash Stag Woodworking (Under construction).
Start with the one that solves your biggest daily frustration, not the one that looks most impressive.
How to Choose Your First Jig
Ask yourself:
- What task do I repeat most often?
- Where do I still rely on luck instead of setup?
- Which operation makes me tense up before I even start?
The answer to those questions points directly to your next build.
Tip: Don’t aim for perfection on your first jig. Aim for functionality.
Every jig you build teaches you something that improves the next one.
Materials and Hardware for Building Jigs
A good jig doesn’t have to be fancy.
What matters is that it’s stable, smooth, and stays true over time.
The best custom shop jigs are built from materials that don’t twist or swell when humidity changes.
Best Materials for DIY Woodworking Jigs
| Material | Why It Works | Watch Out For |
|---|---|---|
| Plywood (Birch or Baltic) | Strong, stable, smooth surface. Perfect for bases and fences. | Avoid low-grade sheets; they warp easily. |
| MDF (Medium Density Fiberboard) | Flat and easy to machine. Great for templates and router jigs. | Hates moisture. Seal edges or keep dry. |
| Hardwood Scraps | Durable and precise. Ideal for runners, stops, and wear points. | Can expand with humidity; use small pieces wisely. |
| Acrylic or Polycarbonate | Lets you see through your jig while working. | Scratches easily; handle with care. |
If you’re just getting started, a single sheet of 12 mm plywood will take you surprisingly far.
Add a few hardwood strips for runners or fences, and you can build most beginner jigs from that alone.

Essential Hardware and Accessories
A few pieces of hardware will instantly make your jigs more functional and adjustable.
They’re small investments that pay off in precision.
- T-Tracks and T-Bolts: let you slide and lock parts quickly.
- Star Knobs: ideal for tool-free adjustments.
- Toggle Clamps: hold workpieces safely during drilling or routing.
- Measuring Tapes and Stops: make your setups repeatable.
- Threaded Inserts: allow detachable parts and replaceable faces.
Design Principles for DIY Woodworking Jigs
Once you start building your own DIY woodworking jigs, it’s tempting to keep adding knobs, slots, and features.
But the best jigs aren’t the most complex ones.
They’re the ones that quietly solve a problem with precision and simplicity.
The Four Principles of a Good Jig
- Precision
Every part must align perfectly.
Even a half-millimeter gap can turn into a crooked cut.
When in doubt, use your square, mark twice, and test before gluing or screwing anything down. - Simplicity
A jig should make a task easier, not introduce a new challenge.
If you have to think too hard about how to use it, it’s not ready yet. - Safety
Your jig should always hold or guide the material so that your hands stay clear of blades and bits.
Rubber feet, clamps, or even a bit of grip tape can make a huge difference. - Repeatability
That’s the whole reason to build jigs.
They should help you do the same thing perfectly over and over without measuring again.
Tip: A well-designed jig almost disappears while you work.
You don’t notice it, you just notice that everything suddenly fits.
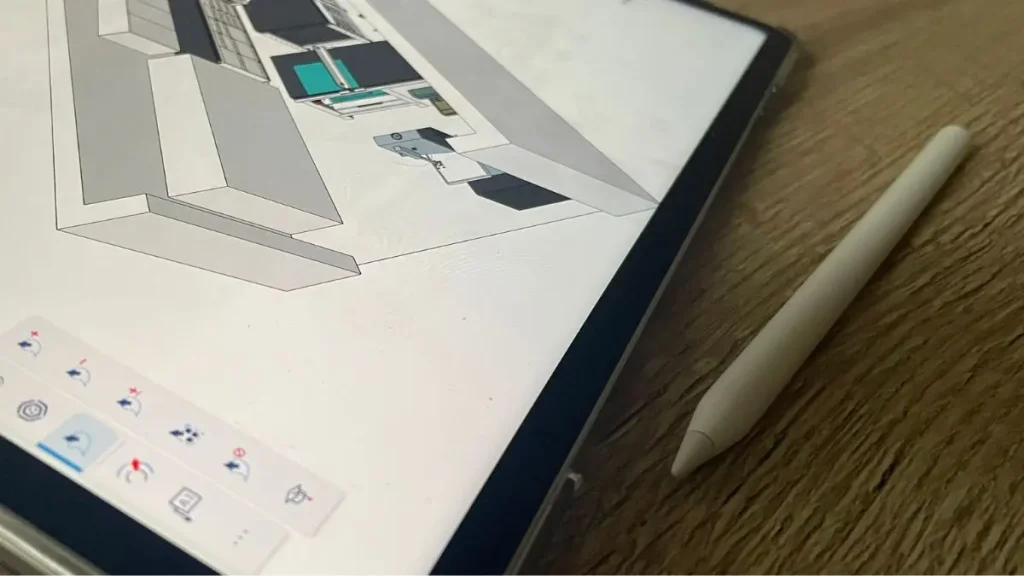
Sketch Before You Build
Before cutting anything, grab a pencil or open SketchUp.
Draw the problem first, not the solution.
Where does the material slip?
Where is the tool unstable?
That’s the spot where your jig will live.
A few quick sketches will save hours of trial and error later.
Make It Modular
You don’t have to start from scratch each time.
Design your jigs so that fences, stops, or guides can be reused on future projects.
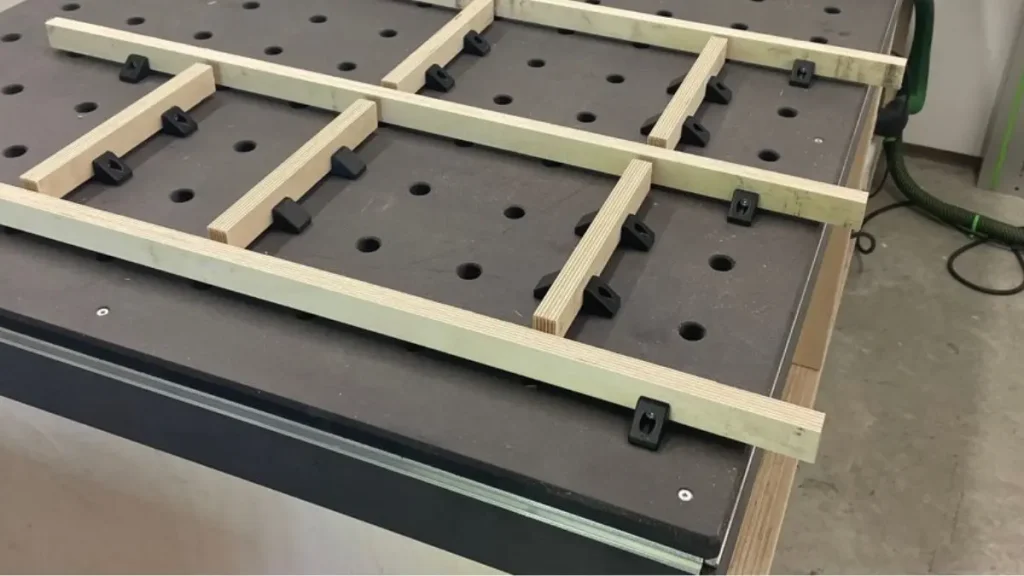
Use T-tracks or standard spacing for holes so parts can move or swap positions.
It’s a small habit that turns a workshop full of jigs into a system that grows with you.
Building Process: From Layout to Testing
Designing a jig on paper is one thing.
Building one that actually works takes patience, accuracy, and a bit of testing.
Here’s a simple process that keeps you from getting lost halfway through.
1. Plan and Measure
Start with a quick sketch and note the key measurements from your tool or material.
Make sure you leave enough clearance for handles, clamps, and moving parts.
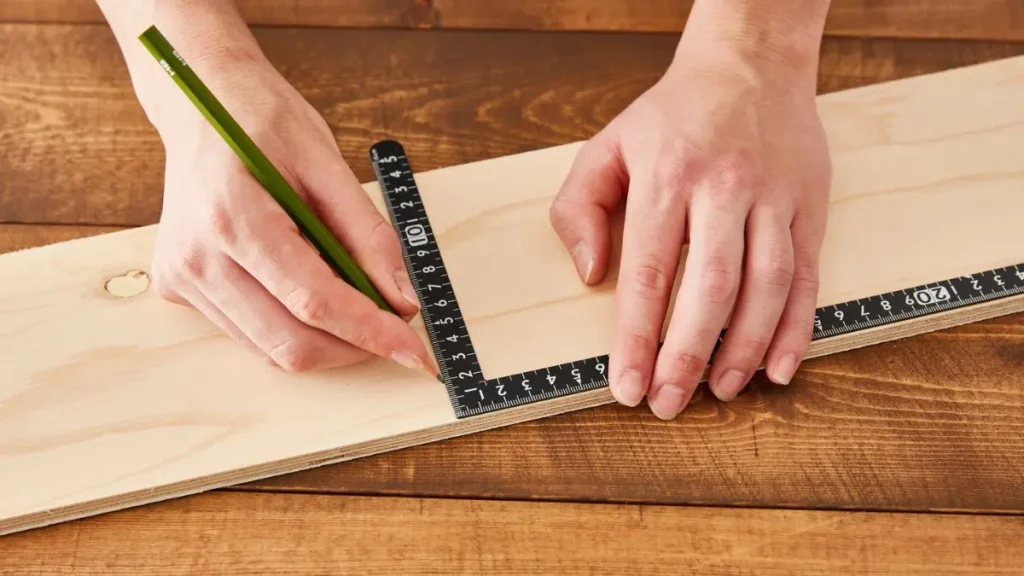
Lay everything out on your plywood before cutting.
Dry-fitting your pieces now will prevent surprises later.
Tip: Use a sharp pencil or a marking knife instead of a fat marker. A clear line means a precise cut.
2. Cut and Assemble
Cut all your parts carefully, staying just outside your lines.
Square up your edges before assembly.
Use glue sparingly and rely on clamps or brad nails to hold things square while drying.
Check alignment constantly.
If something feels off, stop and correct it now rather than after you’ve attached hardware.
3. Test and Adjust
Once the jig is together, test it on scrap wood first.
Watch for resistance, wobble, or misalignment.
Adjust stops, fences, or runners until everything feels natural.
This is where you’ll learn the most about how jigs actually behave in real work.
Tip: Mark your test results directly on the jig. Little pencil arrows or notes will remind you what needs a tweak next time.
4. Label and Store
When the jig works perfectly, label it.
Write its name, the tool it fits, and any important settings right on the surface.
Then store it somewhere visible and easy to reach.
If you hide it in a corner, you’ll forget it exists.
The more jigs you build, the more you’ll see patterns appear.
They’ll start to form a kind of silent library of problem-solvers that grow alongside your skill.
Keeping Your Jigs Accurate and Safe
A jig might look like a simple piece of wood with a few bolts and knobs, but it deserves the same respect as your table saw or your chisels.
Because once a jig goes out of square, every cut that follows does too.
That’s why it pays to check, clean, and maintain them like any other essential tool in your shop.
Why Accuracy Fades Over Time
No jig stays perfect forever.
Wood swells and shrinks with the seasons, screws loosen with vibration, and sawdust slowly finds its way into every joint and track.
You might not notice it at first, just a cut that’s a little off or a hole that doesn’t quite line up anymore.
But those small shifts add up until the jig that once guaranteed precision now quietly introduces errors.
Before you start blaming your tools, take a moment to look closer at the jig itself.
Run your fingers over the base and fence.
If something doesn’t feel right, it probably isn’t.
A quick inspection before you start cutting can save you hours of head scratching later.
Simple Fixes Before Rebuilding
When wear starts to show, it doesn’t always mean your jig belongs in the scrap pile.
Most issues are small and easy to fix if you catch them early.
Loose hardware? Tighten it.
A base that’s gone slightly out of flat? Add a shim or replace just that layer.
If runners are starting to bind, a little wax or a few strokes with sandpaper might bring them back to life.
Sometimes, the fix is as simple as cleaning.
A thin layer of sawdust under a fence can be enough to ruin your accuracy.
Keeping Them Clean and Protected
Every jig deserves a quick brush-down at the end of a session.
A soft rag, a shot of compressed air, or a small brush keeps fine dust from building up where bolts or sliders need to move freely.
For MDF or plywood jigs, sealing the edges with shellac or polyurethane keeps moisture out and prevents the fuzzy texture that makes parts stick.
A coat of paste wax does wonders too, your workpieces will glide over the surface, and the jig stays protected longer.
How to Store Them Right
The easiest way to ruin a jig is to bury it under other projects.
Flat panels warp, knobs get bent, and before long you forget what the jig was even for.
Give them a proper home.
A simple wall rack or labeled shelf works fine.
Hang them vertically if possible so the base doesn’t twist under weight.
Seeing them neatly lined up has another benefit: it reminds you that your shop is evolving, that every jig represents a solution you once built with your own hands.
Keeping your jigs accurate isn’t about perfectionism.
It’s about respect: for your work, your time, and the small helpers that make both possible.
Modern Innovations: 3D Printed and Adjustable Jigs
Woodworking has always been about solving problems with what you have on hand.
A few offcuts, a couple of screws, and suddenly you’ve built something that makes your next cut ten times easier.
But the tools and materials we have today open up possibilities that old-timers could only dream of.
Bringing 3D Printing into the Workshop
If you’ve ever wished a part could be just a little more precise or a knob a little more comfortable to turn, that’s where 3D printing shines.
It lets you make the exact piece you need, in the exact size that fits your jig.
A simple bracket, a fence stop, or a custom handle can go from idea to reality in an hour.
And because you’re designing it yourself, the fit of the 3d printed woodworking jigs is perfect, no more adapting store-bought hardware that never quite lines up.
You can even print small parts that would be too delicate or fiddly to make from wood, like sliding guides, adjustable spacers, or dust guards.
I use printed pieces in several of my own woodworking shop jigs, especially when I need something light, replaceable, or with fine adjustment threads.
It doesn’t replace woodworking; it just removes friction from the creative process.
Adjustable Jigs: Flexibility Over Perfection
Another shift that’s worth exploring is making your jigs adjustable.
Instead of fixing fences and stops permanently, design them to move.
A few T-tracks, a couple of knobs, and suddenly your jig can handle five different tasks instead of one.
It’s a little more work up front, but it pays off every time you use it.
When you start thinking this way, jigs become less about solving a single problem and more about building a system.
Each new one connects to the others, and your workshop slowly turns into a network of tools that work together.
Tip: If you ever catch yourself hesitating to build a new jig because you “don’t have the right hardware,” stop and ask if that part could be printed. Chances are, it can.
And once you print your first custom piece, you’ll start seeing possibilities everywhere.
Build Your Next Woodworking Jigs
By now you understand what woodworking jigs do, why they matter, and how to design and build them for your own shop.
The next step is to put that knowledge to work and start making them.
Every jig you build teaches you something new, not just about precision, but about how you think through problems.
The first one might feel slow, but the second will go faster, and soon you’ll wonder how you ever worked without them.
Below you’ll find a few of the jig projects I’ll be building and explaining in full step-by-step blogs.
Each one includes drawings, photos, and a complete materials list so you can follow along and adapt it to your own workspace.
Ready for the next chapter?
→ Outdoor & Garden Projects (Part 3) (Under construction)
Learn to build weather-resistant furniture and simple outdoor projects that make your garden or patio come alive.
Back to the full journey?
→ Learn How to Build Simple Woodworking Projects (Main Guide)
Return to the main guide and explore all steps in order, from indoor furniture to advanced woodworking builds.
Frequently Asked Questions
What exactly is a woodworking jig?
A woodworking jig is a custom-made helper that holds, guides, or positions your material or tool so you can make accurate, repeatable cuts or holes.
Instead of relying on your hands to be perfectly steady every time, the jig provides structure and consistency.
Why should I build my own jigs instead of buying them?
Store-bought jigs are often made for one specific tool or purpose, and they rarely fit your exact setup.
Building your own lets you customize the size, angles, and adjustments to match your tools and workflow.
Plus, making jigs teaches problem-solving skills that improve every part of your woodworking.
What’s the best jig to start with?
Start with something simple that solves a real problem in your shop.
A table saw crosscut sled or a drill press jig are great beginner projects because they’re easy to make and immediately useful.
Avoid complex router jigs or adjustable systems until you’ve built confidence with the basics.
How do I keep my jigs accurate over time?
Clean them after every use and check for loose screws, worn runners, or warped bases.
Seal plywood or MDF edges with shellac or polyurethane to prevent moisture damage.
A quick inspection before each use will keep them working like new.
Can I use 3D-printed parts in my woodworking jigs?
Absolutely.
3D printing is perfect for knobs, sliders, brackets, or small parts that need precise fit or replaceability.
Printed parts don’t replace woodworking, they complement it by making small improvements that save time and add comfort.
Trusted by Woodworkers Worldwide
29,000+ woodworking enthusiasts follow my journey. Over 60 real-world workshop projects completed since 2018.
Discover proven techniques to set up a woodworking shop that grows with you

Meet Christophe
Founder & Woodwork Artisan Behind Ash Stag Woodworking
Regards, Christophe