
Let’s be honest. Most woodworkers think more about jigs and joinery than about first aid kits or proper ventilation. But here’s the deal: a safe workshop isn’t just about avoiding injuries. It’s about working better, thinking clearer, and building longer. And just as important? A clean workshop that supports your focus instead of fighting it.
In my early shops, safety and cleanliness were an afterthought. I once tripped over a vacuum hose mid-cut. Another time, I learned the hard way why you don’t store finishing rags in a plastic bucket.
This isn’t about turning your space into a sterile lab. It’s about creating a shop that has your back, so you can focus on the fun part: building things that last.

– Updated on
Key Takeaways
– Learn why a clean and safe workshop makes you faster, not slower
– Discover hidden dangers in poor lighting, posture, airflow, and dust buildup
– Build long-term habits that keep your tools sharp and your body safer
– Set up smart storage, safer layouts, and better routines without overengineering
– Feel more confident, focused, and energized every time you walk into your shop
Disclosure: At zero cost to you, I may get commissions for purchases made through links in this post. I earn from qualifying purchases as an Amazon associate. Products featured are selected based on quality, performance, and reputation, regardless of affiliate relationships.

Table of Contents
When most people imagine their dream shop, they picture rows of tools, acres of bench space, maybe a shiny new table saw. But very few think about how the space will support them, physically, mentally, and safely, over time.
That’s a problem.
A cluttered layout isn’t just inconvenient. It leads to tripping hazards, lost tools, and fatigue. Poor dust collection? That’s not just bad for your lungs. It settles into your bearings, clogs your gear, and ruins finishes. A messy, noisy, dimly lit shop doesn’t just slow you down, it kills your creativity.
I’ve set up three workshops over the years. Each one taught me something new. My first was a chaotic corner in a kids’ playroom. The second was a garage where I dodged bikes and a lawnmower daily. Today, I finally work in a space that’s not perfect, but it’s safe, clean, and actually supports how I build, a space that finally reflects true woodworking safety.
This article isn’t just a checklist. It’s a hard-earned guide to turning your shop into a place that keeps you healthy, efficient, and proud. From ergonomics to dust control, tool layout to fire safety, we’ll walk through it all.
Ready? Let’s clean it up and lock it down, the smart way.
1. The Dust You Don’t See
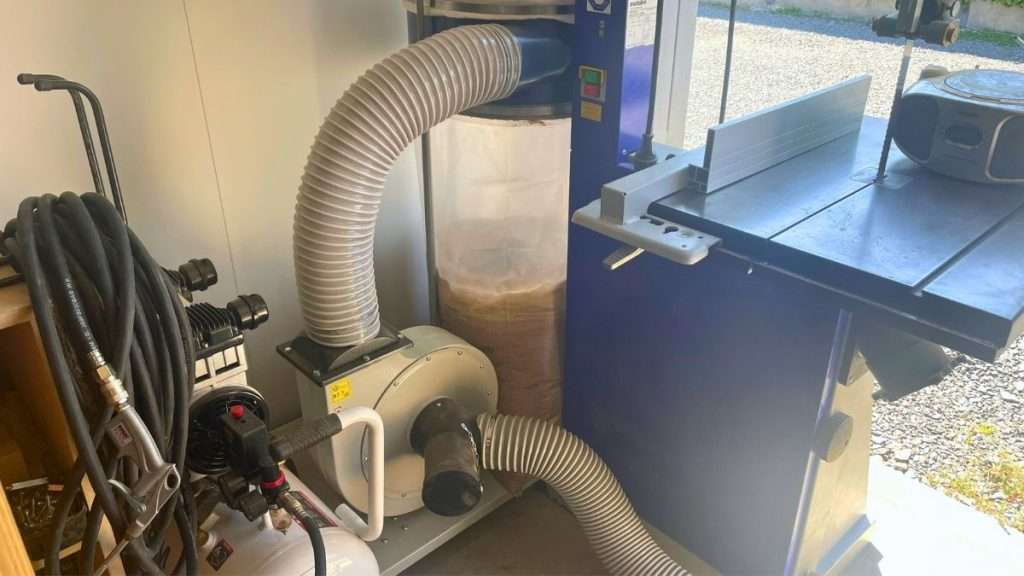
The first time I noticed how bad it was, I wasn’t even cutting wood. I had just walked into my shop the morning after a full sanding session, and the sunlight caught thousands of dust particles floating in the air like glitter. Not exactly magical.
Dust is sneaky. It doesn’t just fall to the ground and wait for a sweep. It floats, settles in your lungs, clings to tools, and covers every surface in your shop, even the ones you thought were sealed. And beyond being a respiratory nightmare, it’s a fire hazard and a performance killer.
This is where workshop safety and air quality go hand in hand. A proper dust collection system is your first line of defense in a safe workshop, and a clean workshop too. But it’s not just about hooking up a big hose to your table saw and calling it a day. That’s like putting a bandaid on a broken arm.
Here’s what actually makes the difference:
- Air filtration: A ceiling-mounted air cleaner or even a box fan with a furnace filter can catch what your vacuum misses
- Blast gates: Make sure you’re only pulling suction where it matters, otherwise, you lose efficiency and clog up lines
- Tool shrouds and guards: If your sander’s spraying more dust than it’s collecting, it’s time for a fix
- Cleanup habits: I keep a vacuum within arm’s reach and use it daily, not weekly
Oh, and whatever you do: don’t blow dust off surfaces with compressed air. You’re not cleaning, you’re just launching it into orbit.
If you want to go deeper, check out my full guide on How to Control Dust in a Woodworking Shop. Spoiler: there’s more to it than a shop vac and hope. (Still working on this post, want to be the first to read it? Join the newsletter and I’ll send it your way when it’s ready.)
2. Ventilation and Safety in a Workshop
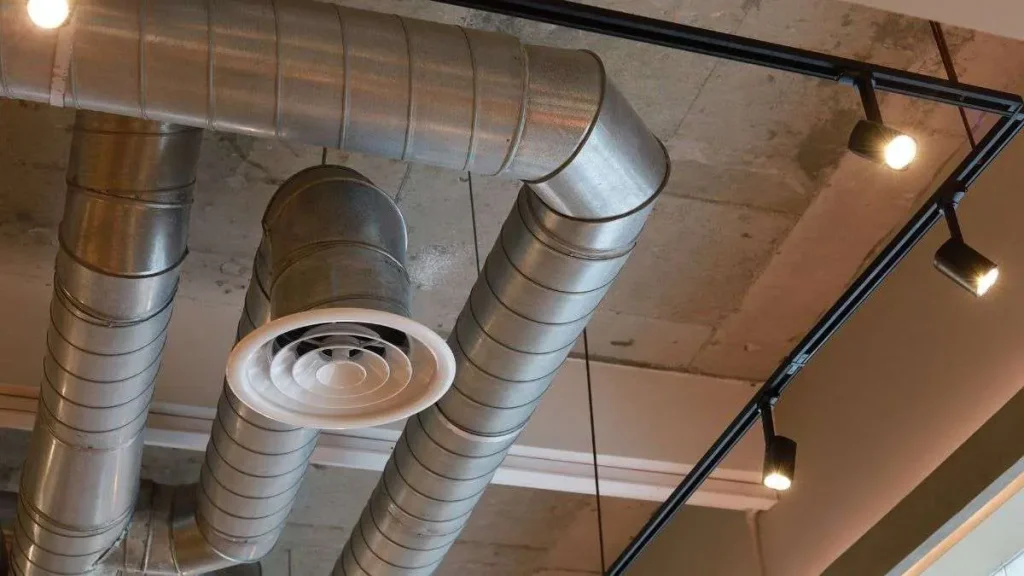
You can have the best dust collection in the world, but if your air just swirls around like a snow globe, you’re still breathing in the same old mess. Ventilation isn’t a luxury, it’s a core part of any clean and safe workshop. It’s one of the most overlooked aspects of safety in a workshop, yet it directly impacts your health and productivity.
I once spent a winter building cabinets in a tightly sealed garage. The varnish fumes were so bad I started storing snacks outside, just so they didn’t pick up that toxic aftertaste. Lesson learned.
Whether you’re applying finish, sanding MDF, or running your machines for hours, you need a plan to move air, not just trap it.
Here’s what to think about:
- Natural ventilation: Open two windows across from each other to create cross-flow. Add a box fan pointing out to pull stale air through.
- Mechanical ventilation: If you’re in a basement or enclosed shop, an inline duct fan or air exchanger might be your best friend.
- Placement matters: Don’t aim fans directly at your workspace, that just kicks up dust. Instead, create a slow-moving current that cycles air out.
- Monitor your air: CO2 monitors and VOC detectors sound fancy, but they’re cheap insurance. If the numbers spike, step out and ventilate.
Ventilation makes your shop healthier, but it also keeps your finishes drying properly, your mind sharper, and your energy levels up. Trust me, you don’t want to feel like you’ve spent the day working inside a paint can.
Want the full breakdown? I’ve got a full post on Workshop Ventilation: What You Need to Know, including product suggestions and airflow strategies. (Still working on this post, want to be the first to read it? Join the newsletter and I’ll send it your way when it’s ready.)
3. Safe Storage Tips for a Safer Workshop

Let’s talk about flammables. Mineral spirits, lacquer, spray adhesives, if it smells dangerous, it probably is. And if you’re storing it in a random cabinet next to a power strip and your battery chargers… well, I’ve been there. Not my proudest moment.
A safe workshop includes smart chemical storage. This is where a little planning goes a long way.
Here’s what to get right:
- Use a flammable-rated cabinet: They’re not just for commercial shops. Even a small metal cabinet with a latch can make a huge difference.
- Keep finishes away from ignition sources: No storing solvents near your charger station or light switches. One spark, and your shop’s gone.
- Label everything: Seriously. When a can gets halfway used, the label fades, and six months later you’re sniffing caps like a mad chemist.
- Store by frequency: I keep everyday finishes at waist height, less-used items down low, and dangerous stuff locked up high or out of sight.
And about those oily rags, store them in a fire-safe container, or better yet, lay them flat to dry before tossing. The last thing you want is spontaneous combustion turning your weekend project into a bonfire.
Need more details? My deep dive on Safe Storage for Flammables, Chemicals, and Finishing Supplies covers exactly how to do this without overthinking it. (Still working on this post, want to be the first to read it? Join the newsletter and I’ll send it your way when it’s ready.)
4. Ergonomics and Woodworking Safety: Comfort Isn’t a Luxury

Let’s be honest: hunching over a low workbench doesn’t build character. It just builds back pain.
I learned that the hard way in my second shop. The bench was too low, and by the end of every build, I felt like I’d gone three rounds with a belt sander. My back hurt, my shoulders were stiff, and I was one dropped clamp away from calling it a day. I ended every project with a sore back and a grumpy mood. It wasn’t until I built my current bench, at the right height, that I realized how much energy I was wasting just by standing wrong.
These small changes make a big difference in woodworking safety, they help you stay focused, balanced, and in control.
Here’s how to make your shop work for your body:
- Workbench height: Start with elbow height as your baseline and adjust based on the task. Higher for detail work, lower for heavy planing.
- Task rotation: Don’t spend four hours sanding in the same posture. Break up tasks and rotate positions when you can, your body will thank you.
- Reach zones: Keep the tools you grab most often right where you naturally stand or sit. If you’re constantly bending or twisting, it’s time for a layout rethink.
It sounds simple, but comfort leads to better choices. You stay sharper, feel less worn out, and you’re way less likely to do something risky just to get the job done faster.
Curious how to dial in your space? I’ve got a full guide on Workshop Ergonomics: How to Work Comfortably and Avoid Fatigue. (Still working on this post, want to be the first to read it? Join the newsletter and I’ll send it your way when it’s ready.)
5. Fire Safety: Prepare for What You Hope Never Happens
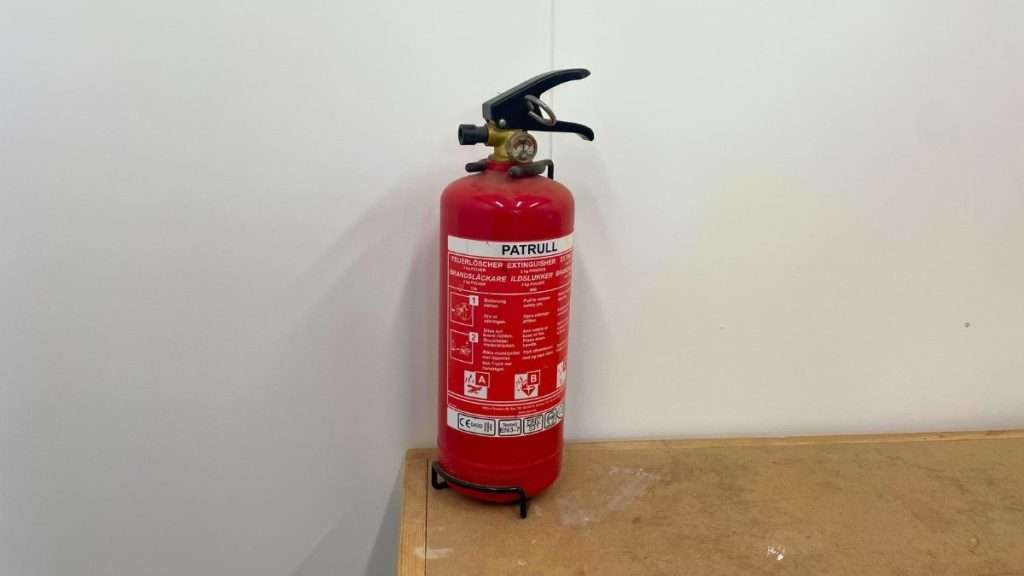
Here’s a hard truth, woodworking shops are flammable by design. Between sawdust, solvents, and enough electricity to power a concert stage, it doesn’t take much to start a fire.
A few years ago, I left a pile of sanding dust under my drill press. Nothing happened, thankfully. But later, I realized that if a spark from my sander or a charging battery had hit that pile, I’d be shopping for new walls.
So, what should you actually do?
- Install smoke alarms: At least one in the shop, and ideally one just outside it too. Check them monthly, seriously.
- Keep fire extinguishers in reach: One near the door and one close to where you use flammables. Make sure you and anyone else in your shop knows how to use them.
- Avoid dust piles: They’re more flammable than you think. Don’t let fine dust collect near outlets, chargers, or tool switches.
- Separate sanding and finishing areas: If you’re sanding next to your drying rack, you’re basically building a bomb.
- Unplug when you leave: Chargers, heaters, lights: pull the plug. Peace of mind is worth the extra step.
It’s not about paranoia. It’s about being smart. Fires happen in real workshops, to real people. And usually, it’s the one thing they didn’t think could go wrong.
Want a full safety checklist? I’ve got a detailed breakdown in Fire Safety in the Woodshop: How to Prepare for the Unexpected. (Still working on this post, want to be the first to read it? Join the newsletter and I’ll send it your way when it’s ready.)
6. Sound and Silence: Start Sound Attenuation at the Source
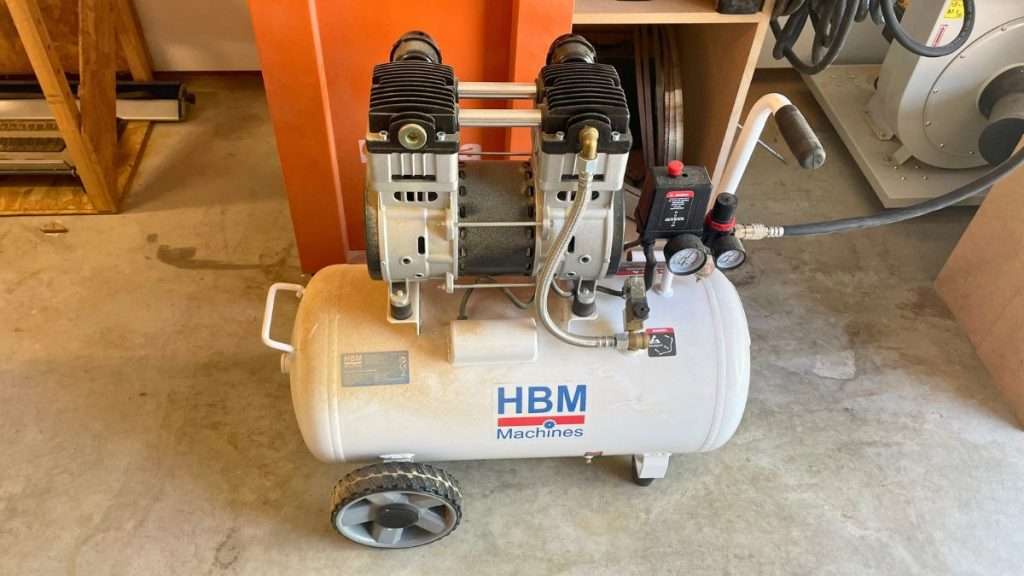
Woodworking is loud. Not just mildly noisy, more like jet-engine-in-a-box loud. And over time, that constant hum, whine, and grind isn’t just annoying. It eats away at your focus, wears you out mentally, and worst of all, damages your hearing permanently. Good sound management is a key but often underestimated part of workshop safety.
I used to power through it with no ear protection. Big mistake. By the end of the day, everything sounded like it was underwater, and not in a soothing, spa-day kind of way.
In this section, we’ll focus more on soundproofing and acoustic comfort, rather than hearing protection, which I cover more deeply in section 9 where habits and PPE come together.
Here’s how to make your shop sound-safe:
- Tool isolation: Mount noisy machines (like dust collectors or compressors) in a separate enclosure or even in a nearby closet, if possible.
- Wall and floor treatment: Acoustic panels, rubber mats, or even thick curtains can cut down reverb and vibration.
- Routine breaks: Step outside now and then. Give your ears (and your brain) a breather.
Quiet matters. Not just for your health, but for your workflow. A calmer space makes for clearer thinking, and better decisions with power tools in hand.
For simple tricks and product ideas, check out my post on How to Soundproof Your Workshop (Without Breaking the Bank). (Still working on this post, want to be the first to read it? Join the newsletter and I’ll send it your way when it’s ready.)
7. Flooring That Supports a Safe Workshop
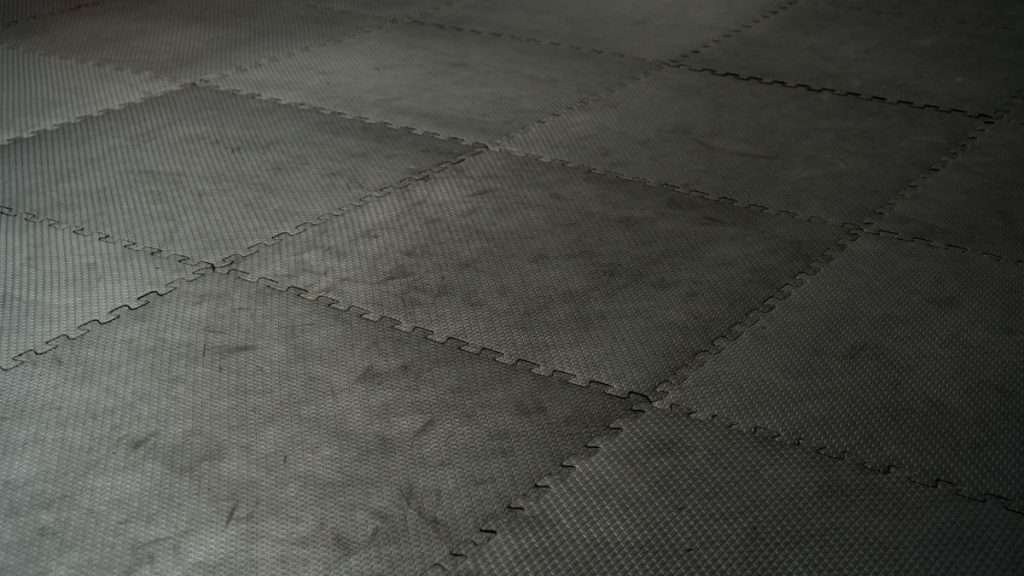
You probably don’t think much about the floor in your shop, until your knees hurt, your feet throb, or you slip in a pile of sawdust and suddenly feel like Bambi on ice.
In my first setup, I worked on bare concrete. Cold, unforgiving, and somehow always dusty no matter how often I swept. Once I added modular mats around my main stations, it felt like I had upgraded from a dungeon to a dojo.
Here’s why your flooring matters in a safe workshop:
- Anti-fatigue support: Standing for long hours on concrete kills your energy. Mats cushion your joints and keep your feet from going numb.
- Slip resistance: Sawdust on smooth concrete is like oil on glass. Add rubber mats, textured tile, or epoxy with grip to stay upright.
- Zoned coverage: You don’t have to mat the entire shop. Focus on high-use areas: workbench, outfeed tables, and sanding stations.
- Easy cleanup: Modular floor tiles are easy to lift and clean under, which helps prevent buildup of dust and moisture underneath.
And if you ever drop a chisel or a sharp drill bit? A cushioned surface could save your edge, and your toes.
Curious what flooring upgrades make the biggest difference? I break it down in Anti-Fatigue and Anti-Slip: Flooring Upgrades That Help You Work Longer. (Still working on this post, want to be the first to read it? Join the newsletter and I’ll send it your way when it’s ready.)
8. A Clean Workshop = A Clear Mind
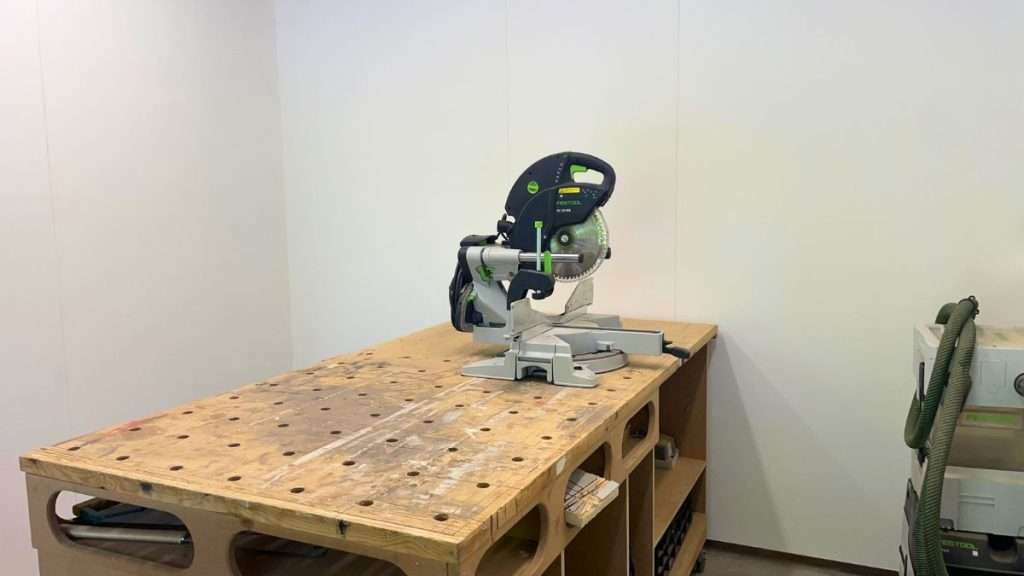
Let’s step away from physical safety for a second. Mental clutter in a messy shop is just as dangerous. When your workspace is in chaos, your focus disappears. Decisions take longer. Projects stall. And sometimes, accidents happen because your brain’s just trying to survive the mess.
I’ve been there, shuffling tools around to make space, forgetting where I put my square (again), and starting projects on top of projects. Eventually, I realized that a clean workshop isn’t just nice to have, it’s essential.
Here’s what a clean space gives you:
- Faster starts: When your bench is clear, you dive right into your build.
- Fewer mistakes: No more knocking over tools or cutting the wrong board because something was in the way.
- Better motivation: A tidy shop feels good. It makes you want to be there, and that’s half the battle.
I keep a simple rule now: 5 minutes of cleanup at the end of every day. That’s it. Wipe down the bench. Put tools back. Sweep one area. It compounds fast.
And if you’re curious why this even matters, check out The Psychology of a Clean Workshop: Why Mess Kills Motivation. (Still working on this post, want to be the first to read it? Join the newsletter and I’ll send it your way when it’s ready.)
9. Build Habits That Keep Your Safe Workshop Safe
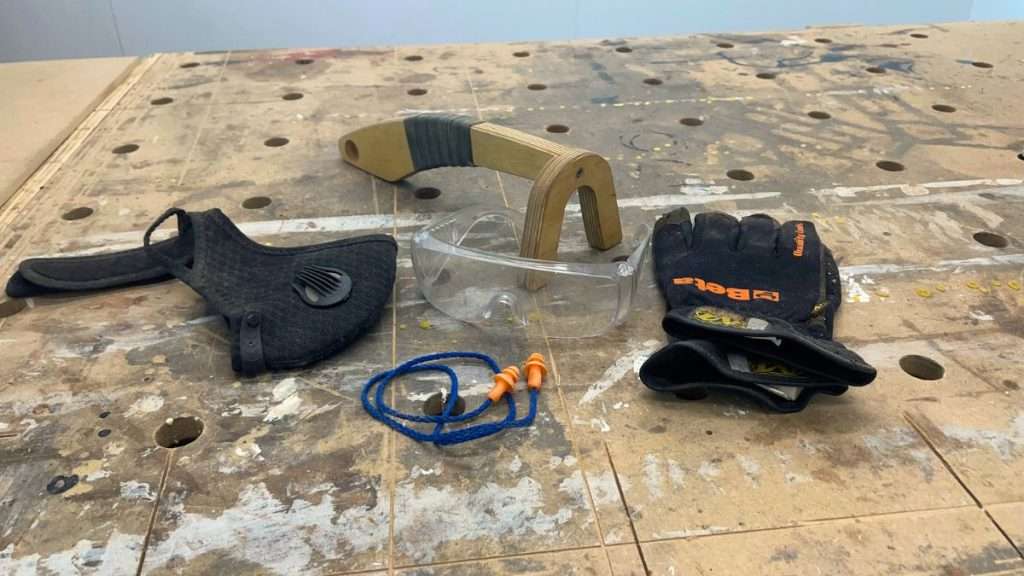
You can have the best equipment, the safest layout, and the cleanest floor, and still end up with an accident if your habits don’t follow suit. A safe workshop starts with gear, but it lives or dies by behavior.
I used to leave tools plugged in, sharp bits exposed, and cords everywhere. I told myself, “I’ll fix it later.” Spoiler alert: later usually means never. It wasn’t until I started building safety into my daily rhythm that things truly changed.
Here are a few habits that make all the difference:
- Unplug tools when adjusting or changing blades: Always. No exceptions. One distracted moment is all it takes.
- Check your PPE: Is your hearing protection where it should be? Safety glasses clean? Dust mask still filtering properly?
- Create a reset routine: End each day by returning tools, clearing walkways, and resetting for tomorrow’s work.
- Label and mark hazards: I use high-visibility tape around corners and label shelves so I don’t waste time (or get surprised).
And maybe most importantly: make your first aid kit easy to reach. I keep mine in a bottom drawer, low to the ground, so that if I ever fall and can’t stand, I can still get to it.
Safety isn’t a one-time setup. It’s an attitude you renew every time you flip the shop lights on.
Want to dive deeper into core safety practices? Start with my guide on Essential Safety Rules for a Woodshop. (Still working on this post, want to be the first to read it? Join the newsletter and I’ll send it your way when it’s ready.)
Final Thoughts: Make Safety Part of the Craft
Let’s face it, safety isn’t the sexy part of woodworking. No one’s binge-watching videos about proper fire extinguisher placement. But here’s what I’ve learned after years of building (and a few close calls): a clean, safe workshop doesn’t slow you down. It frees you up to do your best work, and it reinforces the principles of safety in a workshop that are too often ignored.
When your space is comfortable, organized, and out of the danger zone, you focus better. You make smarter cuts. You feel more like a craftsman and less like someone scrambling through chaos.
This isn’t about being perfect. It’s about progress. Every mat you add, every habit you build, every smart layout tweak brings you closer to a shop that supports your skill, instead of sabotaging it.
So take the time. Upgrade where it counts. Sweep more often. Check that extinguisher. Build your dream shop not just to look great, but to keep you building for years to come.









Leave a Reply