When you first try to understand woodworking techniques, everything can feel a bit mysterious. I remember that stage clearly. You watch someone make a smooth cut or a clean joint and wonder why it looks so easy for them but not for you.
The truth is simple. These techniques are not advanced woodworking skills. They are small, repeatable motions that make your tools feel more predictable and your projects less stressful.
This chapter gives you a clear starting point, without jargon or pressure, so you can build confidence one technique at a time.
This chapter is part 2 of the Woodworking Tools and Techniques journey.
Christophe,
If you have not seen the main overview yet, start with the full Woodworking Tools and Techniques guide so everything connects in the right order.
Earlier step in the journey? Go back to Woodworking Tools for Beginners (Part 1)
Founder of Ash Stag Woodworking
Choose where you want to start:

Cutting Techniques
Learn how to make straighter cuts, smoother curves and clean shapes with simple, beginner friendly methods.
Shaping, Smoothing and Surface Prep
Understand how to control grain, remove marks and prepare surfaces so your projects look cleaner and more professional.
Assembly Techniques
See how to keep projects square, apply glue with confidence and clamp without crushing or twisting your parts.
Joinery Techniques
Discover simple and strong beginner joints like dados, rabbets, pocket holes and dowels so your builds feel solid from day one.
Choose where you want to start:
Cutting Techniques
Learn how to make straighter cuts, smoother curves and clean shapes with simple, beginner friendly methods.
Shaping, Smoothing and Surface Prep
Understand how to control grain, remove marks and prepare surfaces so your projects look cleaner and more professional.
Assembly Techniques
See how to keep projects square, apply glue with confidence and clamp without crushing or twisting your parts.
Joinery Techniques
Discover simple and strong beginner joints like dados, rabbets, pocket holes and dowels so your builds feel solid from day one.

– Updated on
Key Takeaways
– You’ll understand how woodworking techniques shape every part of a project, from the first straight cut to the final fitted joint.
– You’ll start seeing the difference between tool problems and technique problems, which makes building feel calmer and more predictable.
– You’ll know which core skills prevent the most common beginner issues like tearout, dips, gaps and out of square assemblies.
– You’ll have a clear path forward, with four technique groups you can explore in simple steps without feeling overwhelmed.
Disclosure: At zero cost to you, I may get commissions for purchases made through links in this post. I earn from qualifying purchases as an Amazon associate. Products featured are selected based on quality, performance, and reputation, regardless of affiliate relationships.
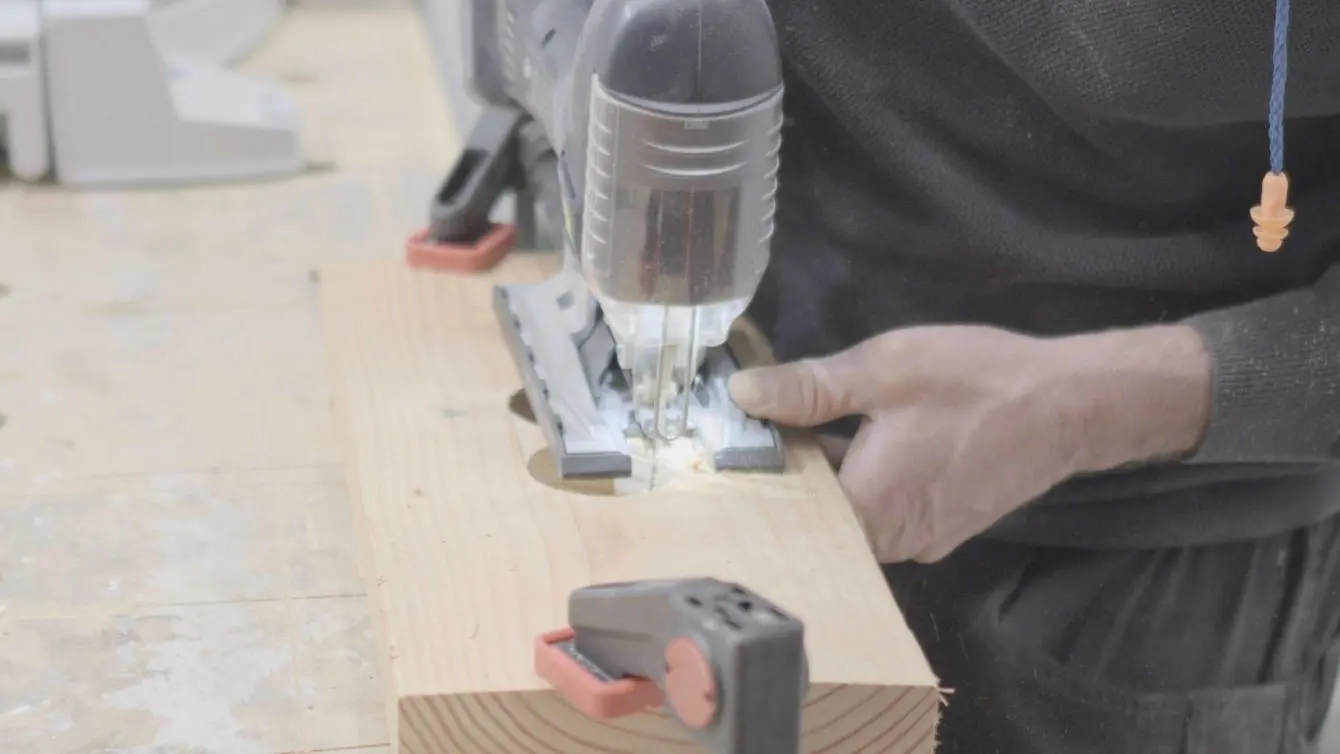
Table of Contents
What Woodworking Techniques Actually Are
When people talk about woodworking techniques, it sometimes sounds bigger or harder than it really is. To me, techniques are just the small habits that make your cuts cleaner, your joints tighter and your projects go together without stress.
If you are brand new, you do not need to master everything at once. You only need to understand the simple building blocks that help you shape, smooth and assemble wood without fighting it.
Think of it like this:
| What it is | Why it matters |
|---|---|
| Cutting techniques | You learn to guide tools with control so wood behaves the way you want. |
| Shaping and smoothing techniques | Your surfaces stop looking rough or uneven and start looking intentional. |
| Assembly techniques | Parts square up easier and hold together longer. |
| Joinery techniques | You move from basic projects to things that feel solid and professional. |
Most beginners try to power through projects using only their tools.
But the truth is simple: Tools do the work. Techniques decide the quality.
So this section gives you the practical woodworking skills that make your starter woodworking tools feel calmer and more predictable. You will see where mistakes usually happen, how to avoid them and what to practice first so each project looks a little cleaner than the one before.
Cutting Techniques Beginners Should Learn First
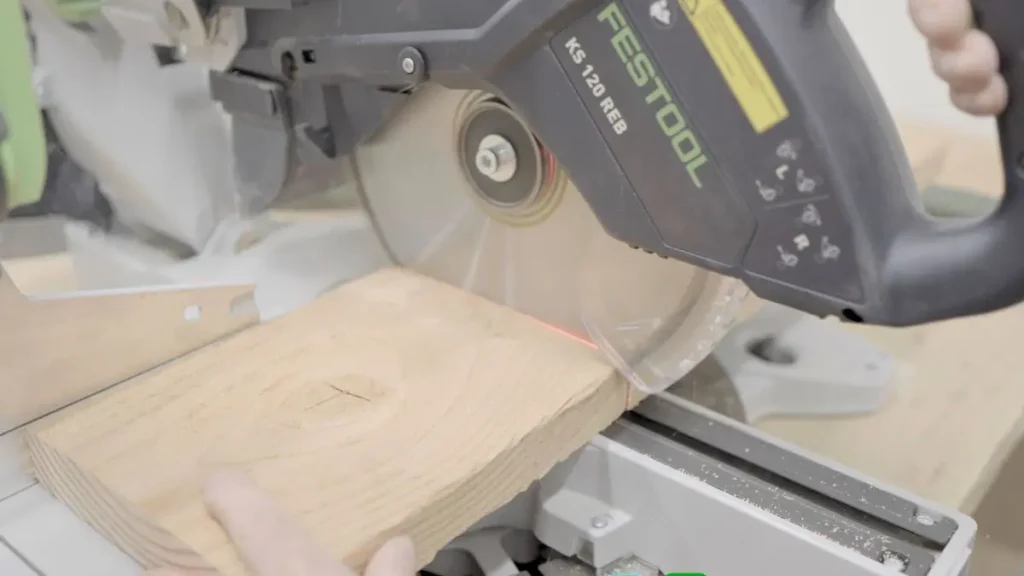
Cutting wood cleanly is one of the first real turning points in your woodworking journey. Once you understand a few basic woodworking techniques, tools start to feel steadier, lines look straighter and frustration drops fast. Most beginners think they need a bigger tool before they need better technique, but it is almost always the other way around.
Good cuts come from control, not power.
And control comes from habits you can learn surprisingly quickly.
Why cutting technique matters so much
A few tiny improvements change everything:
- Your boards start to fit together without sanding for hours
- Tearout becomes less common
- Your projects finally look intentional instead of “close enough”
If someone asked me for the most helpful woodworking tips for beginners, cutting technique would always be near the top.
The simple cutting habits that make a big difference
Here is a clean overview of what really helps when you are starting out:
| Technique | What it improves | Good first tools |
|---|---|---|
| Following a straight line | Accuracy and clean edges | Circular saw, track saw |
| Supporting your work properly | Reduces vibration and tearout | Foam insulation board, sawhorses |
| Letting the blade do the work | Smoother cuts, less burning | Any saw with a sharp blade |
| Starting each cut with control | Fewer mistakes and wander | Jigsaw, hand saw |
If you take only one thing from this section, let it be this:
Sharp blades and calm hands beat expensive tools every single time.
“Most people think skill comes later. In cutting wood, it shows up much earlier than you expect.”
Straight cuts are the foundation
Whether you use a circular saw, a miter saw or a jigsaw, straight cuts begin with three things:
- A clear line you can actually see
- A workpiece that is fully supported
- A blade that is sharp and appropriate for the material
Most beginners skip one of these. That is usually when the problems start.
You do not need to dive into every cluster post right now, but when you are ready to go deeper, you can explore the guides:
- How to Make Straight Cuts in Wood (003.02.01) (Under construction)
- How to Break Down Plywood Cleanly (003.02.01.01) (Under construction)
- How to Avoid Tearout in Straight Cuts (003.02.01.02) (Under construction)
Tip: Try cutting a simple 10 cm strip off a scrap board every day for a week.
Nothing fancy. Just a straight line.
Beginners are often shocked at how fast that tiny practice session improves every other project.
Shaping, Smoothing and Surface Prep Techniques
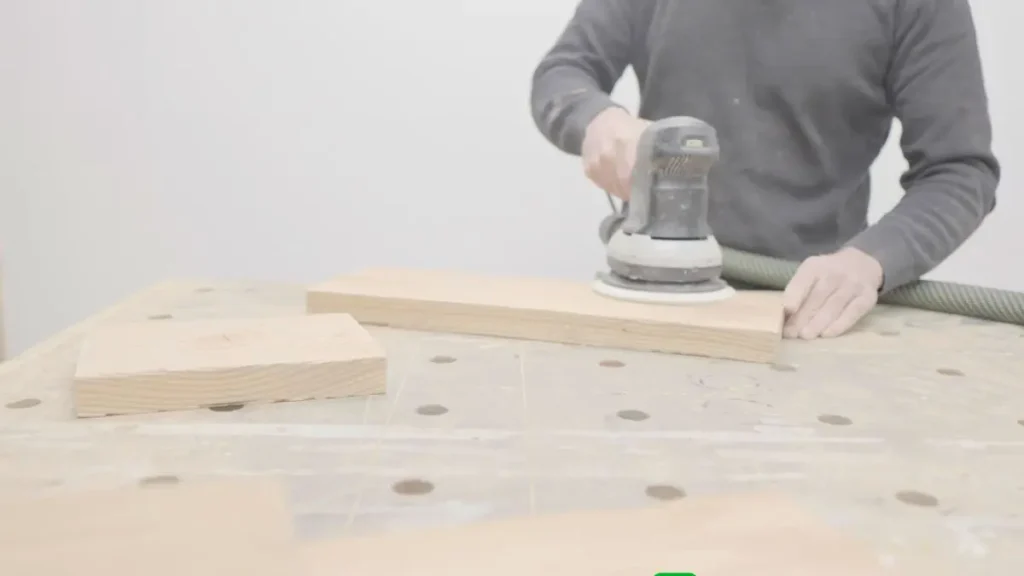
Once you can cut wood with a bit of confidence, the next turning point is learning how to shape and smooth it. This is where projects start to look cleaner, more refined and honestly more enjoyable to touch. Many beginners think this part is boring, but it is one of the most satisfying areas of woodworking techniques once you understand what is really happening.
Good shaping is not about perfection.
It is about guiding the wood into the curve, edge or surface you want without fighting the grain.
Why surface prep matters more than people think
A project can be built with perfect joinery, but if the surfaces are rough, uneven or full of scratches, it will always feel unfinished. Most of the time, surface problems come from rushing, inconsistent pressure or sanding in the wrong direction.
Here are some of the most helpful woodworking tips and tricks that beginners pick up early:
- Slow passes look cleaner than fast ones
- Even pressure beats extra pressure
- Sanding with the grain hides mistakes
- Sharp tools remove material more predictably than dull ones
The main shaping and smoothing habits to focus on
| Technique | What it improves | Good first tools |
|---|---|---|
| Sanding in stages | Fewer scratches and smoother surfaces | Orbital sander, sanding block |
| Reading the grain before shaping | Less tearout and cleaner transitions | Spokeshave, rasp |
| Light passes, repeated often | More control and cleaner profiles | Hand plane, spokeshave |
| Avoiding pressure on corners | No more rounded edges you did not intend | Sanding block, orbital sander |
These are the basic woodworking techniques that quietly separate clean builds from messy ones. When beginners ask for woodworking tips for beginners, this is usually where I point them first. Not because it is easy, but because small improvements show up instantly in your projects.
Where you can go deeper when you are ready
You do not need all the details today, but these guides will help once you want more control:
- Sanding Techniques for Beginners (003.02.05) (Under construction)
- How to Prevent Tearout in Wood (003.02.06) (Under construction)
- How to Plane Wood Flat (003.02.07) (Under construction)
- How to Shape Curves and Profiles (003.02.08) (Under construction)
Tip: Try sanding a board through three grits without skipping any steps. Run your hand over the surface after each grit. You will start to “feel” the difference, and that sense of touch becomes one of the most valuable tools you own.
Assembly Techniques Every Beginner Should Know
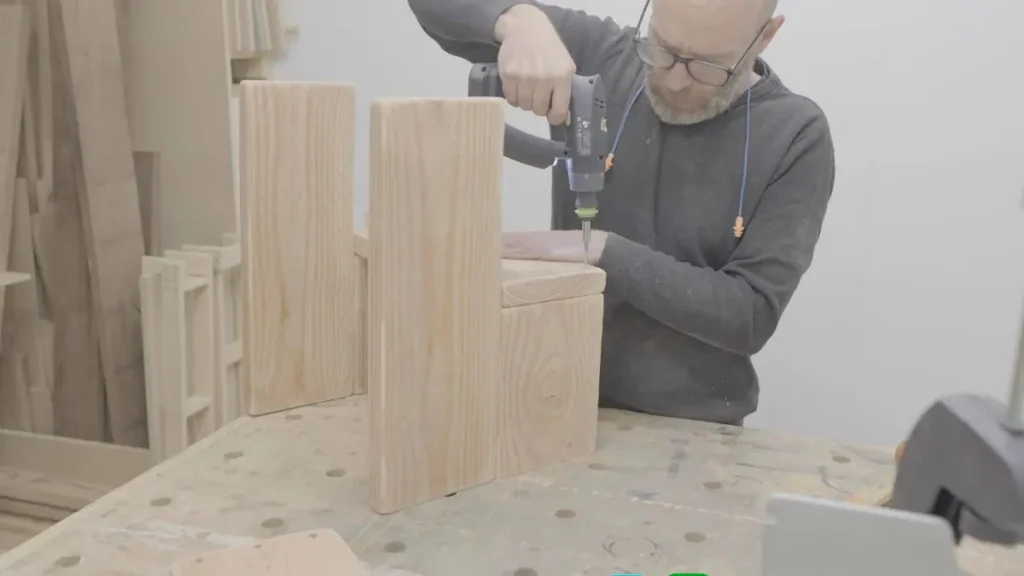
Once your parts are cut, shaped and smoothed, the next big leap is learning how to bring everything together without stress. Assembly looks simple from the outside, but it is often the moment where beginners run into problems they did not see coming. Pieces twist, glue dries too fast, clamps slip or things end up out of square.
This is where basic woodworking techniques make your life much easier.
A bit of understanding goes a long way.
Why assembly technique matters
Assembly is not just “putting parts together.”
It is the moment where accuracy, patience and planning all come together.
Good assembly practice helps you:
- Keep your project square from the start
- Avoid gaps that show up after glue dries
- Reduce the number of clamps you actually need
- Build things that feel solid and strong
In fact, many of the best woodworking tips for beginners are found right here, because this is where everything you did earlier finally reveals its quality.
The small habits that improve every assembly
| Technique | What it improves | Common beginner mistake |
|---|---|---|
| Dry fitting before glue | Confidence and accuracy | Gluing before checking alignment |
| Checking for square early | Prevents twisting and gaps | Measuring only at the end |
| Balanced clamping pressure | Flatter glue ups | Over tightening one side |
| Even glue coverage | Stronger joints | Random blobs instead of thin layers |
If you slow down during this stage, your projects suddenly jump a level in quality.
Most beginners fix problems after glue dries.
Experienced woodworkers prevent them before it touches the wood.
Core assembly topics you will see later in the journey
These guides open up the deeper woodworking techniques behind clean assembly. Je hoeft ze niet nu al allemaal te lezen, maar ze wachten op je wanneer je verder wil gaan.
- How to Square a Project Properly (003.02.09) (Under construction)
- How to Glue Up Panels Without Bowing (003.02.10) (Under construction)
- How to Clamp Projects Correctly (003.02.11) (Under construction)
“Most assembly mistakes are alignment mistakes, not glue mistakes.”
Once you understand that, everything becomes calmer.
Joinery Techniques That Help You Build Stronger Projects
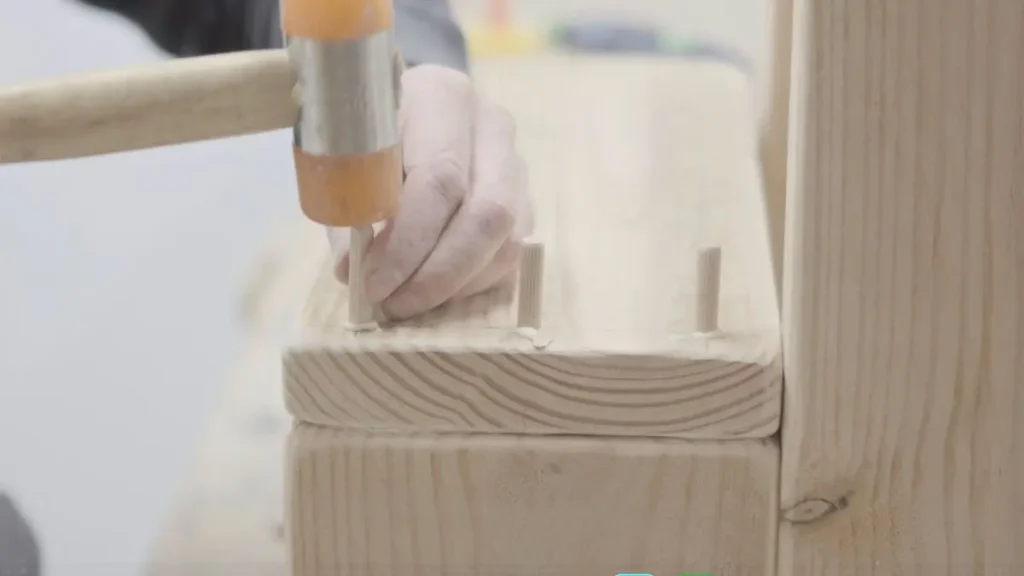
Joinery is the moment where woodworking starts to feel real. When two pieces of wood lock together cleanly, you feel that quiet mix van trots en controle dat je niet krijgt van schroeven of brute kracht. Many beginners think joinery is only for advanced woodworkers, but most joints come from simple, repeatable woodworking techniques that anyone can learn step by step.
Good joinery is not about being fancy.
It is about choosing the right method for the right project and using it with care.
Why joinery makes such a difference
You can build almost anything with screws, but real joinery gives you:
- Stronger, cleaner connections
- Better alignment during assembly
- Projects that stay square longer
- A more professional look, even with simple tools
If someone asked me for long term woodworking tips for beginners, I would always tell them this: learn one joinery method well before you try ten of them badly.
The four joinery skills that matter most for beginners
Hier is een eenvoudige kijk op joinery zonder dat het overweldigend wordt:
| Joinery skill | What it helps you do | Good first tools |
|---|---|---|
| Dados and rabbets | Build shelves, boxes and cabinets that stay aligned | Router, table saw |
| Pocket hole joinery | Assemble frames and furniture quickly | Pocket hole jig, drill |
| Doweling | Create strong hidden joints without complex tools | Dowel jig, drill |
| Clean shoulders and flat bottoms | Improve the look and precision of any woodworking joint | Router, chisel, saw |
You do not need to master all of these at once.
Most beginners learn one method, then expand only when a new project asks for it.
A simple way to see joinery for what it is
Joinery is just controlled material removal.
You remove some wood from one part, add a matching shape to another and let the two pieces work together.
Once that idea sinks in, joinery stops feeling magical and starts feeling teachable.
Where to go deeper when you are ready
When you want more detail, these guides walk you through each method in a beginner friendly way:
- Dado and Rabbet Techniques for Beginners (003.02.13) (Under construction)
- Pocket Hole Joinery Basics (003.02.14) (Under construction)
- Doweling Techniques for Beginners (003.02.15) (Under construction)
Tip: Cut joinery shoulders slowly.
Most gaps do not come from the wrong tool, but from rushing the last millimeter.
A Simple Beginner Friendly Practice Path
Learning woodworking techniques works best when you do it in small, repeatable steps. You do not need complicated projects or expensive tools to get better. In fact, most progress comes from practicing simple movements until they feel familiar. The goal is not speed. The goal is to build confidence so each project becomes a little easier than the one before.
Think of this as a clear path you can follow without guessing what to practice next.
1. Start with straight cuts on scrap
Begin with the most basic woodworking techniques: following a line, guiding a saw calmly and letting the blade do the work. Take a piece of scrap plywood and cut ten strips at the same width.
This teaches you control faster than any big project.
Tip: Mark your line with a sharp pencil or marking knife. Clear lines make cleaner cuts.
2. Smooth a surface through three grits
Many beginners jump from rough wood directly to fine sanding, and that is where uneven spots come from. Choose a small board, sand it with three grits and focus on even pressure and long passes.
Why this helps: This is one of the most underrated woodworking tips for beginners. You start feeling how wood responds under your hands and that sense of touch makes shaping much easier later.
3. Practice one joinery method first
Do not chase every technique at once. Pick a single joint and repeat it until you trust it. Pocket holes, dados, rabbets or dowels all make great starters. Repetition teaches far more than reading diagrams.
Tip: Build a simple frame three times. Each version will look cleaner than the last.
4. Assemble a small project slowly
Choose something tiny like a box, a tool tray or a small shelf. Focus on alignment, square corners and gentle clamping pressure. This is where all your new habits come together.
Helpful thought: Most beginners clamp too hard. Light pressure often gives a flatter panel and fewer surprises.
5. Shape one curve with intention
Take a scrap board and draw a gentle curve. Cut it with a jigsaw, then refine it with a rasp or sanding block. This is where shaping stops feeling random and starts feeling controlled.
A quick recap for clarity
| Skill | What you practice | What it improves |
|---|---|---|
| Straight cuts | Line control and tool guidance | Cleaner edges and accuracy |
| Sanding in stages | Surface awareness | Smoother finishes |
| One joinery method | Repetition and alignment | Stronger connections |
| Slow assembly | Patience and precision | Square, predictable builds |
| Shaping a curve | Grain reading and finesse | Better project details |
If you follow this path for a few weeks, you will feel the difference immediately.
Not because you became an expert overnight, but because the foundation under your work finally feels solid.
Where to Go Next
If you are ready to go deeper into the woodworking tools for beginners or move forward in your woodworking journey, here is where you can head next.
Want more detail on this stage?
These guides belong to this chapter and cover each tool group in full.
They help you understand the differences, the setups and the techniques behind each beginner friendly category.

Cutting Techniques
Learn how to guide saws with control, follow a clean line and avoid the most common cutting mistakes beginners make.
Shaping, Smoothing and Surface Prep
See how to get rid of scratches, tame uneven surfaces and shape cleaner curves.
Assembly Techniques
Understand how to keep your projects square, apply glue evenly and clamp without twisting or crushing your work.
Joinery Techniques
Discover the beginner friendly joinery methods that help your projects stay strong, aligned and more professional.
If you’re ready to go deeper or move forward in the journey, here’s where you can head next.
Cutting Techniques
Learn how to guide saws with control, follow a clean line and avoid the most common cutting mistakes beginners make.
Shaping, Smoothing and Surface Prep
See how to get rid of scratches, tame uneven surfaces and shape cleaner curves.
Assembly Techniques
Understand how to keep your projects square, apply glue evenly and clamp without twisting or crushing your work.
Joinery Techniques
Discover the beginner friendly joinery methods that help your projects stay strong, aligned and more professional.
Want more detail on the techniques in this stage?
These guides belong to this chapter and explain each technique step by step:
How to Make Straight Cuts in Wood (Under construction)
Learn how to guide saws with confidence, reduce tearout and break down plywood without stress.
How to Cut Curves in Wood (Under construction)
Simple ways to create smooth curves, clean circles and flowing shapes, even with beginner tools.
How to Cut Dados and Rabbets (Under construction)
Beginner friendly methods that help your shelves, boxes and cabinets line up cleanly.
Sanding Techniques for Beginners (Under construction)
Learn how to avoid scratches, low spots and uneven surfaces so your projects look intentional.
How to Prevent Tearout in Wood (Under construction)
Understand grain direction and shaping habits that lead to clean, predictable results.
How to Plane Wood Flat (Under construction)
A simple introduction to planing without snipe or chatter.
How to Shape Curves and Profiles (Under construction)
Use a rasp, file or spokeshave to refine details and give your projects a smoother look.
How to Square a Project Properly (Under construction)
Bring your projects together without stress, twisting or last minute fixes.
How to Glue Up Panels Without Bowing (Under construction)
Learn the habits behind flat glue ups and even pressure.
How to Clamp Projects Correctly (Under construction)
Avoid clamp marks, reduce the number of clamps you need and keep your project square.
Ready for the next chapter?
→ Woodworking Materials (Part 3) (Under construction)
Learn how to choose the right wood species, pick the hardware your projects need and understand the essential materials that help every build come together smoothly.
Back to the full journey?
→ Woodworking Tools and Techniques (Main Guide)
Follow the full journey from tools to techniques to safe, accurate building.
Frequently Asked Questions
What woodworking techniques should beginners learn first?
Start with straight cuts, basic sanding habits and a simple joinery method like pocket holes. These give you fast results without overwhelming you and build up woodworking skills.
Do I need special tools to learn basic woodworking techniques?
No. A drill, a circular saw, a sander and a few clamps are enough to practice most beginner techniques with confidence.
Why do my cuts look rough even with a good saw?
Usually it is the blade, the support under your workpiece or grain direction. Small adjustments make a big difference.
How can I avoid tearout when shaping or smoothing wood?
Use sharp tools, take lighter passes and follow the grain. These are classic woodworking tips and tricks that work every time.
How do I know if my project is square during assembly?
Measure the diagonals. If both match, the frame is square. This is one of the simplest woodworking tips for beginners and it prevents many headaches later.
Trusted by Woodworkers Worldwide
29,000+ woodworking enthusiasts follow my journey. Over 60 real-world workshop projects completed since 2018.
Discover proven techniques to set up a woodworking shop that grows with you

Meet Christophe
Founder & Woodwork Artisan Behind Ash Stag Woodworking
Regards, Christophe