
Back when I started woodworking, my shop looked more like a yard sale after a tornado than a workspace. I had tools buried under piles of scrap wood, drawers stuffed with mystery hardware, and no clue where anything actually lived. If I needed a clamp, it was either lost, loaned out, or holding something together I forgot about two weeks ago.
Let me tell you: what I needed wasn’t more space. I needed better shop storage ideas.
Whether you’re working in a cramped garage or a modest basement setup, this guide will show you how to reclaim space, reduce stress, and turn your workshop into a place that works with you, not against you.
These shop storage ideas are made for real-world woodworkers who want solutions that evolve with their needs.

– Updated on
Key Takeaways
– Discover why better shop storage ideas lead to faster, safer builds
– Learn how to organize a shop by zones: drawers, walls, overhead, and bins
– Use vertical space, hidden zones, and flexible systems to your advantage
– Explore workshop organizing ideas that grow with your projects
– Build a woodworking storage system that feels made for you
Disclosure: At zero cost to you, I may get commissions for purchases made through links in this post. I earn from qualifying purchases as an Amazon associate. Products featured are selected based on quality, performance, and reputation, regardless of affiliate relationships.

Table of Contents
We’re now in Step 4 of my full workshop setup roadmap. If you haven’t yet read Step 1: Planning a Woodworking Shop: 7 Pro Tips for Success, Step 2: Building a Woodworking Shop? Avoid Regret with These 5 Keys, or Step 3: 9 Steps to a Clean, Safe Workshop That Makes You Proud, I recommend starting there.
In Step 1, we laid the groundwork, figuring out what matters most in your layout and why. Step 2 took those priorities and translated them into actual stations that support your workflow. Then, in Step 3, we cleared the chaos and set safety systems in place so you could build with confidence.
Now it’s time for Step 4: bringing it all together with smart storage ideas that don’t just tidy up your shop, they evolve with how you work, think, and build.
Let’s face it: the internet is full of woodworking storage tips that look great on Pinterest but fall apart in real life. Rows of pristine French cleats, rainbow-colored bins, and custom cabinetry that costs more than your table saw. That kind of picture-perfect setup might work for sponsored studios, but for real-world woodworkers? What we really need are shop storage ideas that can keep up with real life, the kind that bend, shift, and grow with your space and your skills.
This isn’t one of those cookie-cutter blog posts with vague advice. Everything here comes from real projects, messy days, and those frustrating moments where I stood in the middle of my shop thinking, “Okay… now what?”
I’ll show you workshop storage ideas that actually make your daily work easier, systems that bring order without sucking the life out of your creativity. No fluff, no wasted space. Just practical systems that make your shop feel bigger, cleaner, and more efficient without spending a fortune or losing a weekend to overcomplicated builds.
If you’ve ever tripped over a clamp, lost your favorite chisel in a drawer abyss, or wasted 20 minutes hunting for screws, you’re in the right place.
Let’s dive in.
4 Simple and Smart Shop Storage Ideas That Actually Work
1. Use Drawers to Bring Tools to You
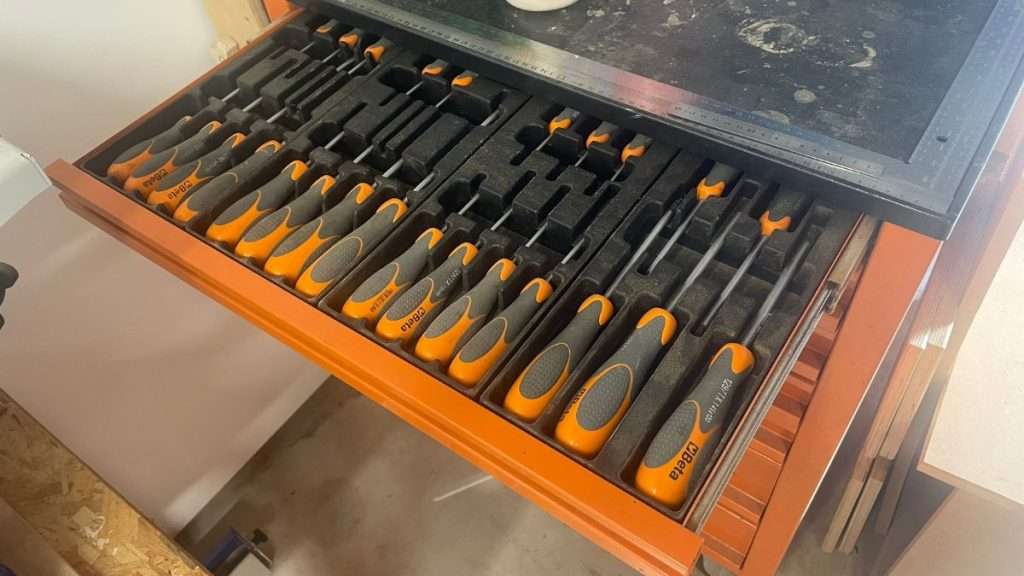
Drawers are the unsung heroes of workshop storage. I used to think they were just glorified boxes until I built my first proper set, and suddenly, my shop felt twice the size.
The trick is not just having drawers, but designing them with intention:
- Shallow up top, deep down low – Nobody wants to dig in a knee-height drawer for drill bits. Save the deep ones for bulky stuff like routers or glue bottles.
- Group by function – One drawer for sanding gear, one for measuring tools, one for sharpening supplies. No more treasure hunts.
- Place them where you work – My miter saw station has drawers for blades and jigs. My workbench holds layout tools. My router table has bit storage built right in.
One of my favorite upgrades? 3D-printed drawer dividers. If you’ve got a 3D printer, they’re a game-changer. I’ve made custom trays for screws, bits, even tiny allen keys. Total satisfaction.
And let’s be honest, pulling open a perfectly organized drawer is weirdly addictive. Like opening a toolbox in a video game. Except it’s real, and it makes you faster.
Want to dive deeper into drawer setups? I wrote a full guide here:
Drawer Systems in the Workshop: What to Store and Where (Still working on this post, want to be the first to read it? Join the newsletter and I’ll send it your way when it’s ready.)
2. Take Back Your Walls: Vertical Storage That Works
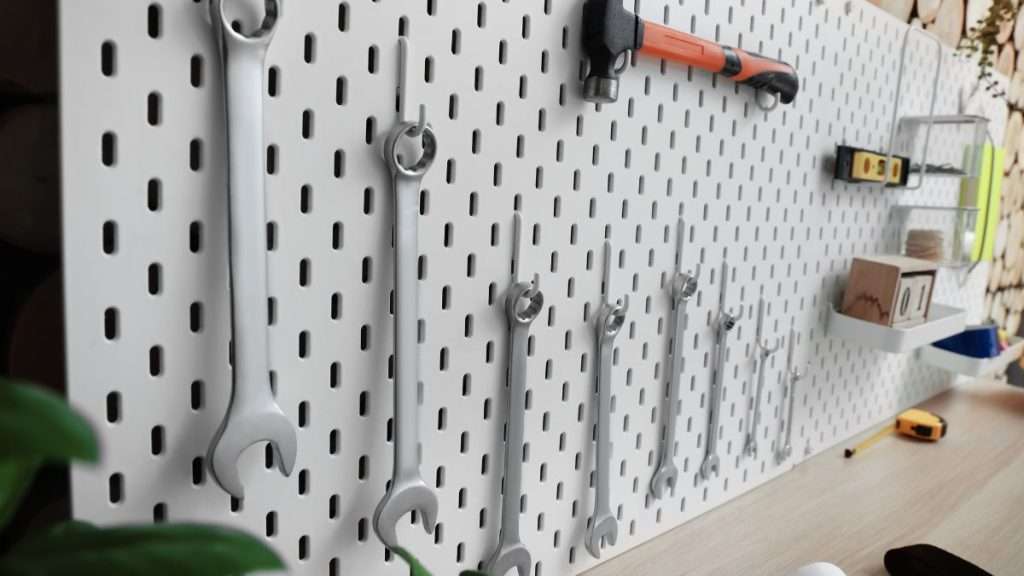
When your floor is full, look up. Wall space is some of the most underused real estate in any workshop, and unlocking it can make a huge difference.
There’s no single best method, but here are a few of the most popular wall storage ideas for woodworking shops:
- French cleats – The Swiss Army knife of shop storage. Modular, endlessly reconfigurable, and oddly satisfying to build.
- Pegboards – Old-school, but still effective. They give you that instant visual overview, if you actually put your tools back.
- Shadow boards – Silhouettes of your tools traced and cut out. Great for discipline, even better for aesthetics.
When I first added a cleat wall, I was skeptical. Then I realized how quickly I could grab my block plane, my clamps, even my glue bottle. Everything’s just there. And if my workflow changes? I can rearrange everything in minutes.
Vertical storage helps you:
- Keep essential tools within arm’s reach
- Free up drawer space for fragile or smaller items
- Build in visual order, so your brain stays calm even when the glue starts dripping
Want help choosing the best wall system? I break these workshop organizing ideas all down here:
French Cleats, Pegboards, and Wall Panels: Which Is Right for You? (Still working on this post, want to be the first to read it? Join the newsletter and I’ll send it your way when it’s ready.)
3. Don’t Forget the Ceiling: Overhead Storage That Saves the Day
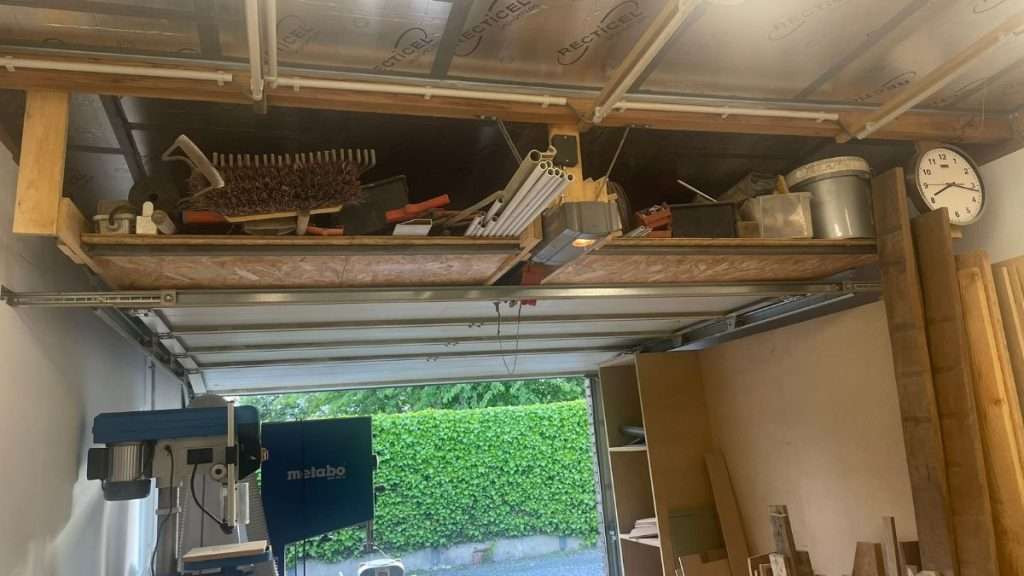
Let’s talk about the most ignored space in your workshop, your ceiling. Overhead storage might not be glamorous, but it can save your sanity (and your floor space).
I once had five long boards of walnut wood leaning against the wall like a precarious game of Jenga. Every time I reached for something, they threatened to crash. Then I built a simple ceiling rack. Problem solved.
Here’s how to use your airspace smartly:
- Lumber racks – Great for storing sheet goods, long boards, and offcuts. Just don’t build it over your headspace unless you like ducking.
- Seasonal storage – Things like camping gear, project leftovers, or Christmas decorations don’t need to be at arm’s reach.
- Drop-down platforms or bins – Pulley systems are fun, functional, and make you feel like Batman.
Just remember: these workshop storage ideas should be sturdy, accessible, and not block your lights or airflow. Safety first. Always.
Need ideas? Check out my suggestions here:
Smart Overhead Storage: Use the Airspace in Your Workshop (Still working on this post, want to be the first to read it? Join the newsletter and I’ll send it your way when it’s ready.)
4. Labeling and Bins: Small Parts, Big Wins
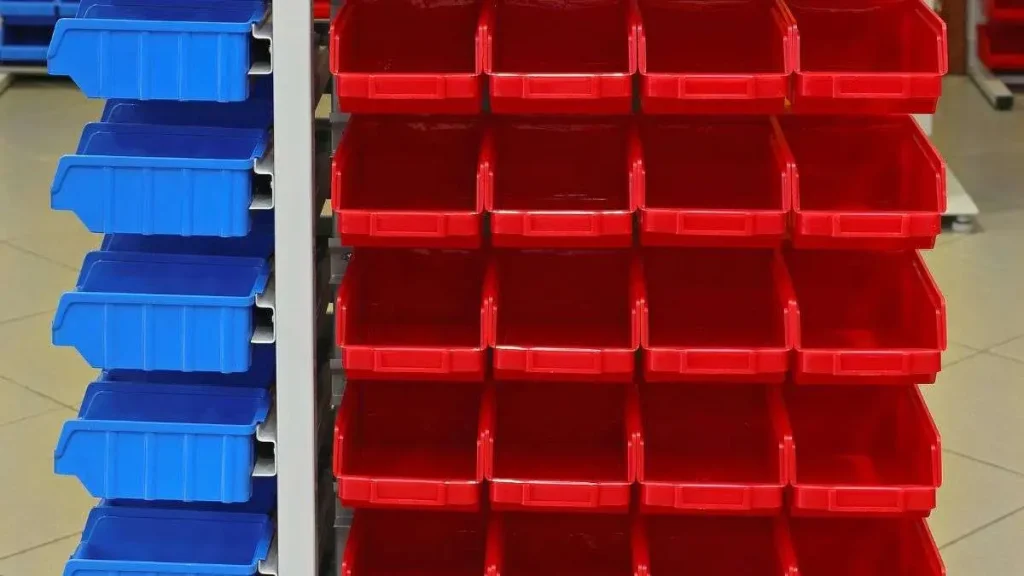
If you’ve ever opened a drawer and thought, “Why do I own six different kinds of screws I never use?”, this one’s for you.
Labeling and small part storage may not be glamorous, but it’s where your shop either sinks into chaos or starts to shine.
Here’s how to keep the small stuff under control:
- Label everything – Front and top labels for drawers. Stickers, stencils, or a good old Sharpie, just be consistent.
- Color-code or iconize – Blue for fasteners, red for electrical, green for finishing. Or go with tiny printed icons for quick recognition.
- Use bins and boxes – Stackable bins, drawer trays, or tackle-style organizers work wonders for screws, dowels, hinges, and more.
- Track your stock – I use a basic checklist taped inside a cabinet door. Some folks go high-tech with QR codes. Whatever works.
A surprising bonus? Labeling forces you to make decisions about where things belong. It turns your workshop from a storage dump into a system.
Want to level up your labeling game? I’ve got some great tips here:
Labeling, Bins and Inventory Hacks for Woodworkers (Still working on this post, want to be the first to read it? Join the newsletter and I’ll send it your way when it’s ready.)
Final Thoughts: Start Small, Build Smart
Here’s the secret no one tells you, great shop storage doesn’t happen in one weekend. It evolves.
Start with a single drawer. A single wall. A single rack. Improve one zone at a time and you’ll be amazed at how quickly your workshop transforms.
Because when your space works for you, your builds get better. Faster. Safer. And a whole lot more fun.
So stop fighting your shop and start shaping it. The smartest woodworking storage system is the one that actually helps you build.
These workshop storage ideas are more than just tips, they’re a mindset shift that helps you organize a shop for the long haul.

This Was Step 4 of the Full Guide
This post on shop storage ideas is Step 4 of my full workshop setup roadmap. If you want to revisit the earlier steps on workshop storage ideas, check out the links above.
Want to see the full picture? Return to the main guide: How to Set Up a Woodworking Shop Like a Pro – 4 Clear Steps
Want to keep learning and growing as a woodworker?
- Explore the Ash Stag+ Membership to get early access and exclusive content
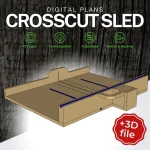
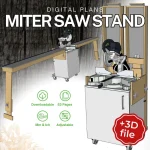
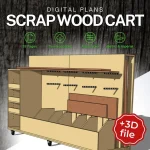
- Or grab a detailed woodworking storage plan from the webshop to get started today
Let’s build smarter. Let’s build something that fits your space. Let’s build it right from the start.
Christophe – Ash Stag Woodworking





Leave a Reply